Water-path review
The interior symptom, visible chimney surfaces and surrounding roof details are connected before a repair is proposed.

Water tracing at the roof-to-chimney transition
Chimney flashing repair should follow the visible water path. Water near a chimney may begin at step flashing, counterflashing, nearby roofing, the crown, cap or masonry—not necessarily at the first surface patch you can see. Modern Home accepts projects throughout every listed New Jersey service county.
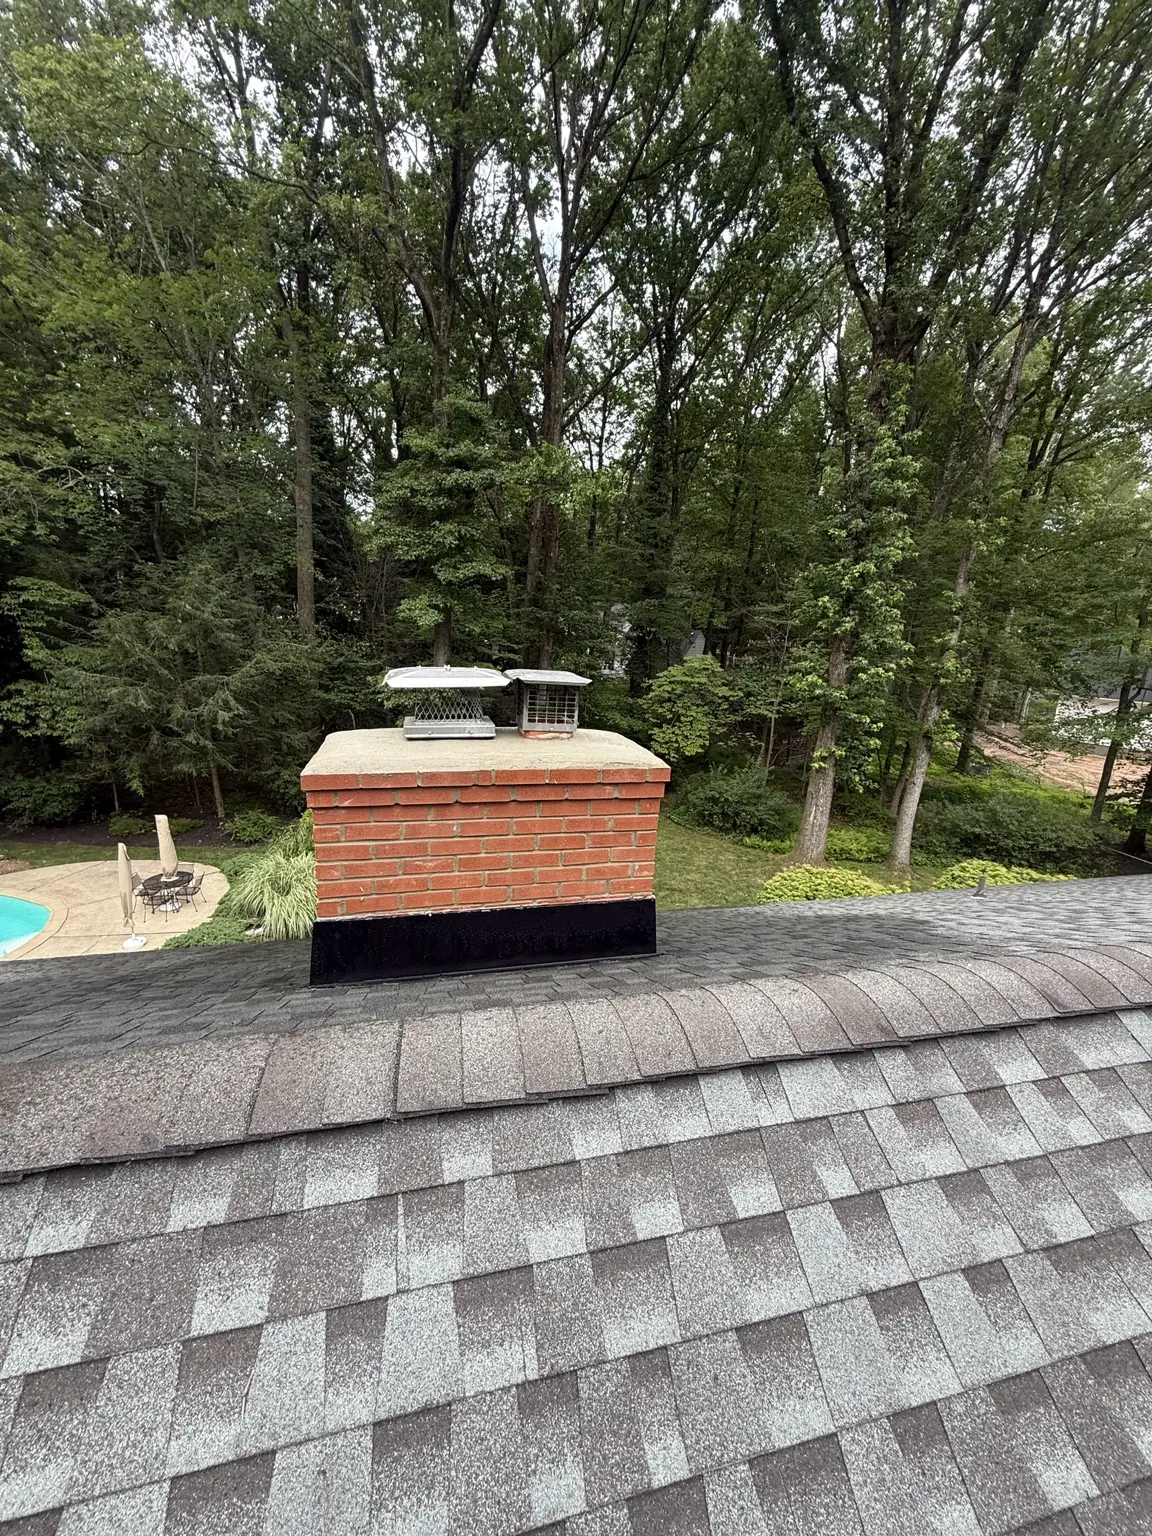
Original Modern Home photography
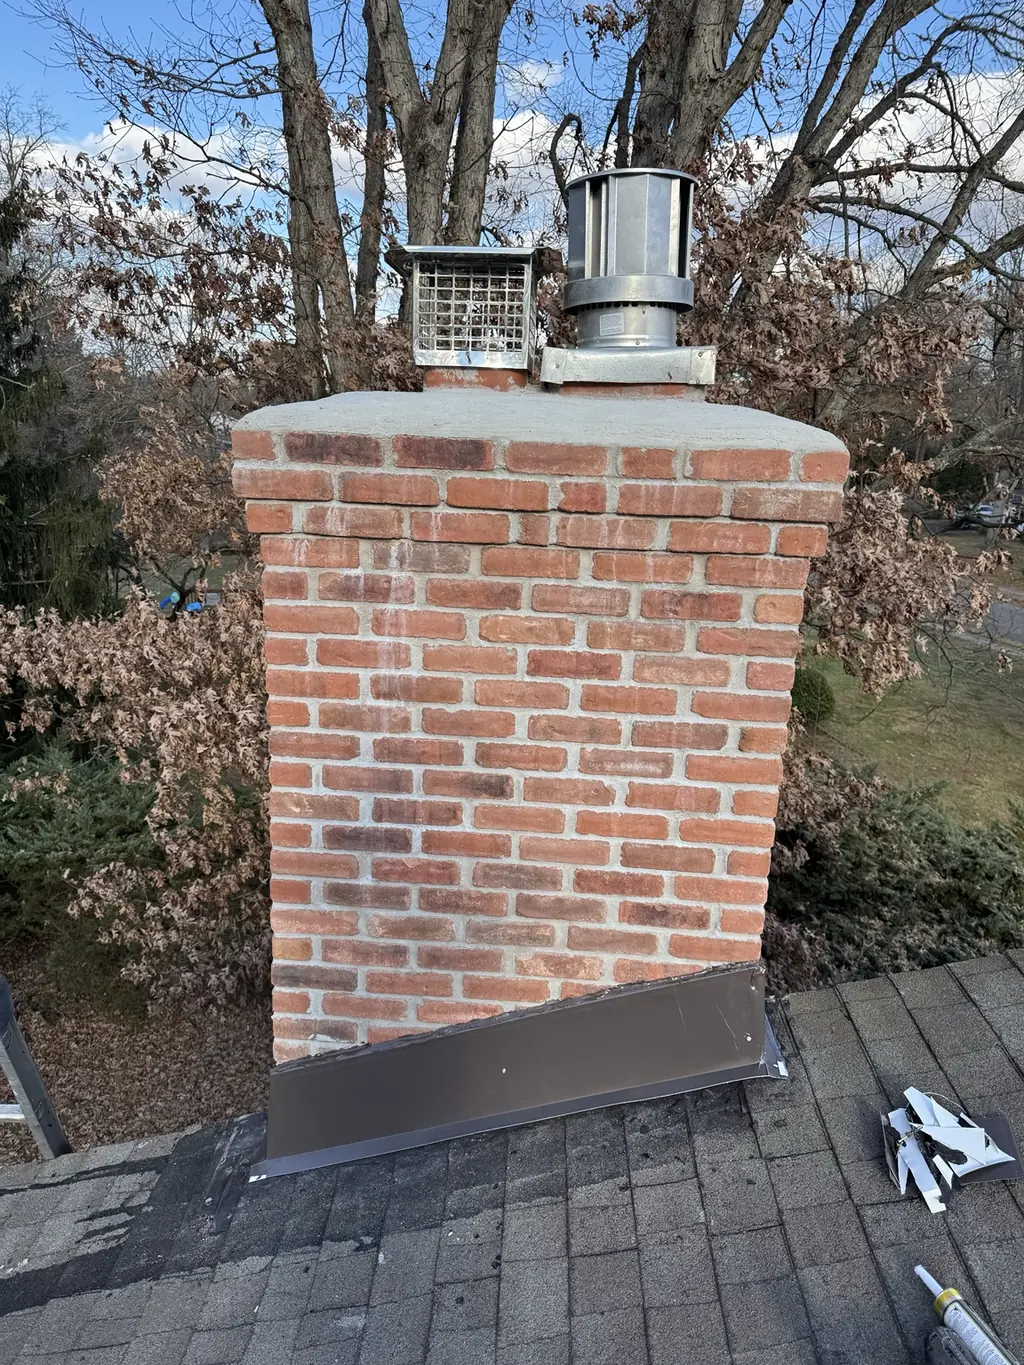
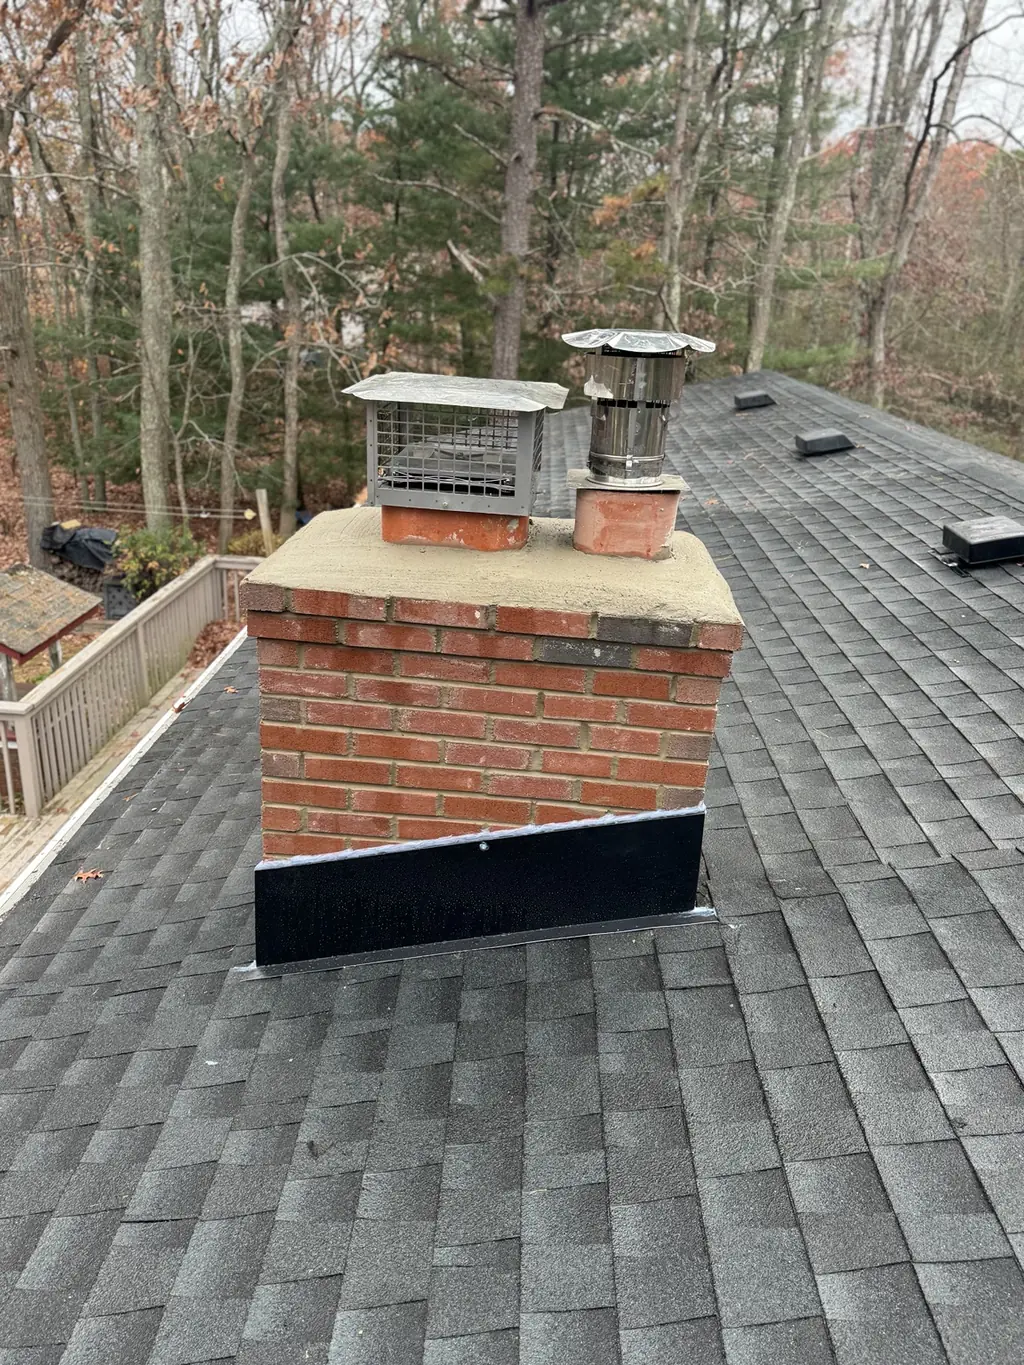
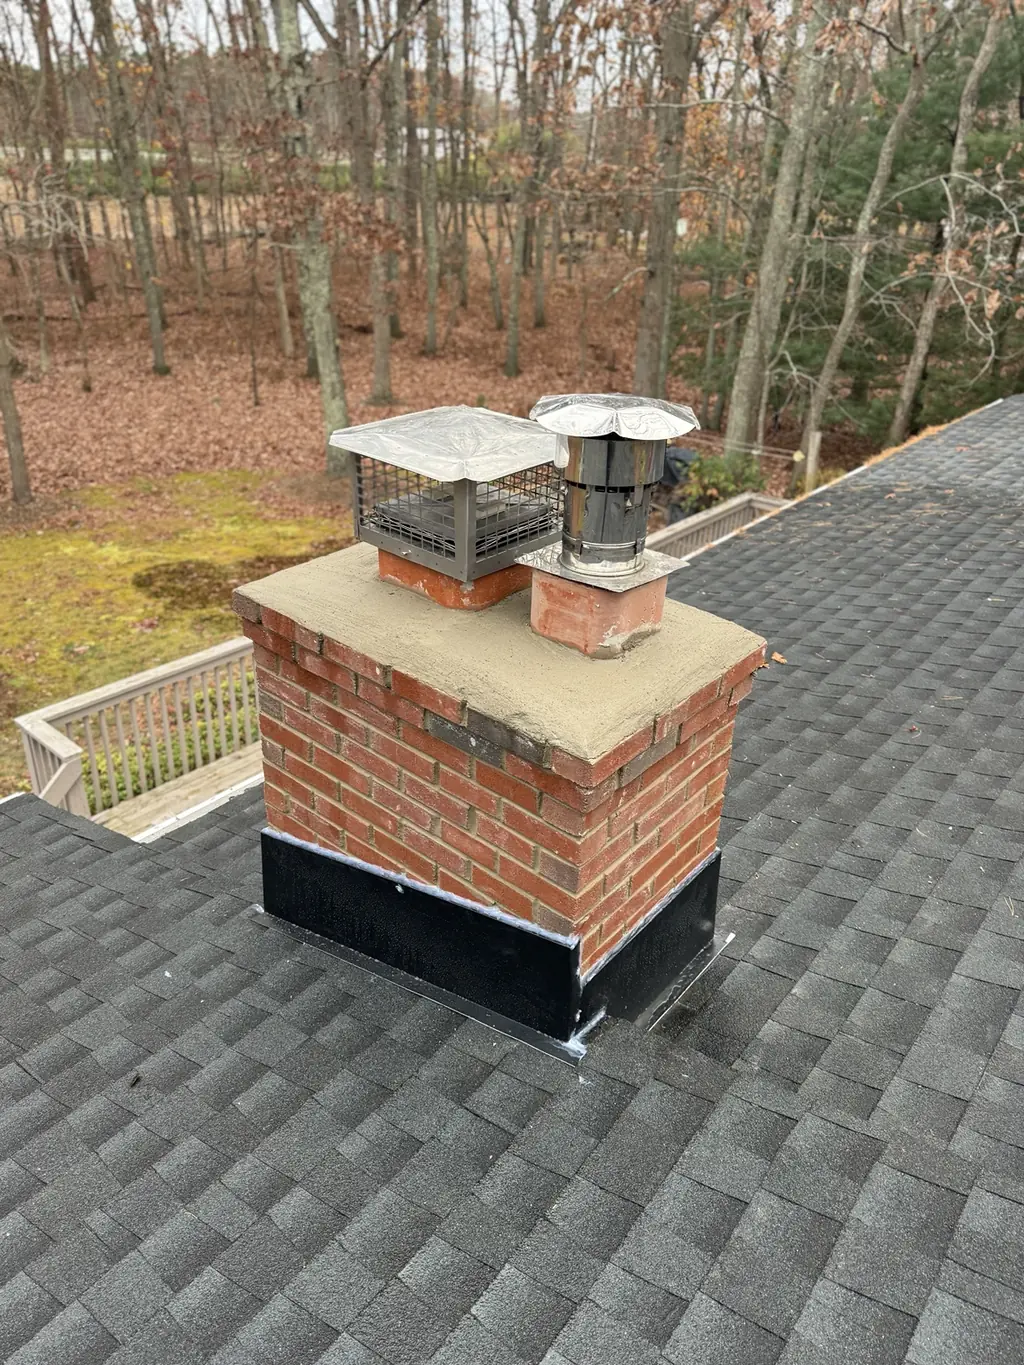
These authentic Modern Home project photographs are selected for this service. Exact project cities and street addresses are withheld, and no location is inferred from an image.
When to call
An interior stain does not identify the exterior opening by itself. The chimney surfaces and surrounding roofing need to be considered together.
What a clear scope includes
The interior symptom, visible chimney surfaces and surrounding roof details are connected before a repair is proposed.
Accessible step flashing, counterflashing, seal transitions and nearby shingles are reviewed for openings or incompatible repairs.
Roofing, sheet-metal and masonry items are identified individually so the estimate explains exactly what is included.
Visible laps, counterflashing and water-shedding details are checked after the agreed work is complete.
How the visit works
Rain direction, timing, interior location and prior repair history help narrow the likely path.
The roof covering, flashing, masonry, crown and cap are reviewed together where access allows.
The written scope identifies the roof, metal or masonry work required instead of grouping everything under sealant.
The agreed transition is rebuilt or repaired, and the visible finished details are documented.
Common questions
The interior stain alone usually cannot confirm the source. Rain direction, visible openings, flashing condition, masonry joints, crown and cap should be reviewed together.
Surface cement may provide temporary protection in some situations, but it does not replace properly integrated step flashing and counterflashing when those components have failed.
Yes, when compatible roofing work is part of the confirmed leak path. The estimate should identify the shingles, flashing, counterflashing and masonry items separately.
Real project case studies
Original Modern Home photographs connect the service description to a documented project stage. Exact customer addresses remain private.
Tell us what you are seeing
Share the full project address, service, urgency and preferred appointment window. You can also stage useful project photos.
Start the quick intake →Or call (732) 682-9251